Showing posts with label Nail Art. Show all posts

Dec 21, 2011

Moustache

Homemade cupcakes and hairy nail art!

Photobucket
My own nails, my own cupcakes

Sep 8, 2011

Barcelona

Aloha!!!!

Here’s my blog post about Barcelona! Ta-daaaaa!

I had one exam this week… and it was a HEAVY one!  The course is called metabolism. It’s really complicated and I have to remember a lot of chemical pathways, structures and enzymes!  So I needed all my concentration to ‘make it work’, as Tim Gunn would say ;) … And I passed the exam! :D The professor said that I did very well! Me = happy :D I can start blogging again!

About Barcelona:
I went to Barcelona with my boyfriend for a week! It was our first vacation together! :D
The weather was soooooo good!!! Especially because the sun is still missing in Belgium… :p
But of course something just had to go wrong! If you’re a long time follower of my blog, you might know that I get throat infections really often… and yes yes yes, the throat monster struck again! We were in Barcelona for over 3 hours and my throat got sore. My lymph nodes always swell out of proportion, so I couldn’t speak or eat a lot… But on the positive note: my boyfriend is the sweetest thing ever! He went to the pharmacist for me, he took care of me, he made me laugh all the time,… ^^ And because I couldn’t walk for a very long time (my joints hurt when I’m sick), we did something we would never do when visiting a city: we took the ‘hop on hop off bus’! It was soooo much fun! We saw everything in Barcelona :D
Aaaah and of course: chilling at the beach! What else :D

Ow, and one more thing: If you ever visit Barcelona, go to ‘Buenas Migas’! It’s the best focacceria in the world! And please, send me a piece haha :D

Da picturrrrres:
Photobucket

This is at the top of Montjuic! We ate yummie pizza here :D
Photobucket

Photobucket

I felt really sick when this photo was taken xD
Photobucket

Delicious paella at La Rambla!
Photobucket

The harbor:
Photobucket

Photobucket

Nail art: Poppy flower!
Photobucket

In the water ^^
Photobucket


Jul 23, 2011

Nail Art: Japanese Blossom

Photobucket

My take on the whole cherry blossom thing! =D

(I did both my hands myself, like always + these are my own nails ^^)

By the way: I noticed that people who follow me on bloglovin' don't get any more email updates from my blog! I'm really sorry about that and I don't know why it happens!


Jul 3, 2011

Nail Art: Mumbai

Aloha!

I designed this nail art for a contest and guess what? I was one of the winners! =D

So here's the explanation:

I was inspired by Mumbai, India.
Mumbai is perhaps better known as "Bollywood", where all the famous Indian movies are made.
I wanted to reflect the crowdiness, the variety, tradition and richness of Mumbai on my nails.

I will discuss each nail
separately (in the photo from top (pink) to bottom (thumb)):
  • Pink: I based this one on traditional wall paintings of Indian women, very simple and yet so detailed.
  • Ring finger:  Indian Henna (or Mehndi)!
  • Middle finger: The middle finger was inspired by a beautiful Indian belt, with large turquoise stones, that I own.
  • Index finger: This finger represents a sari (the scarves and dresses that women wear).
  • Thumb: Of course I wanted something architecturally. This is the gate of Mumbai, a well known building.
Photobucket

Oct 22, 2010

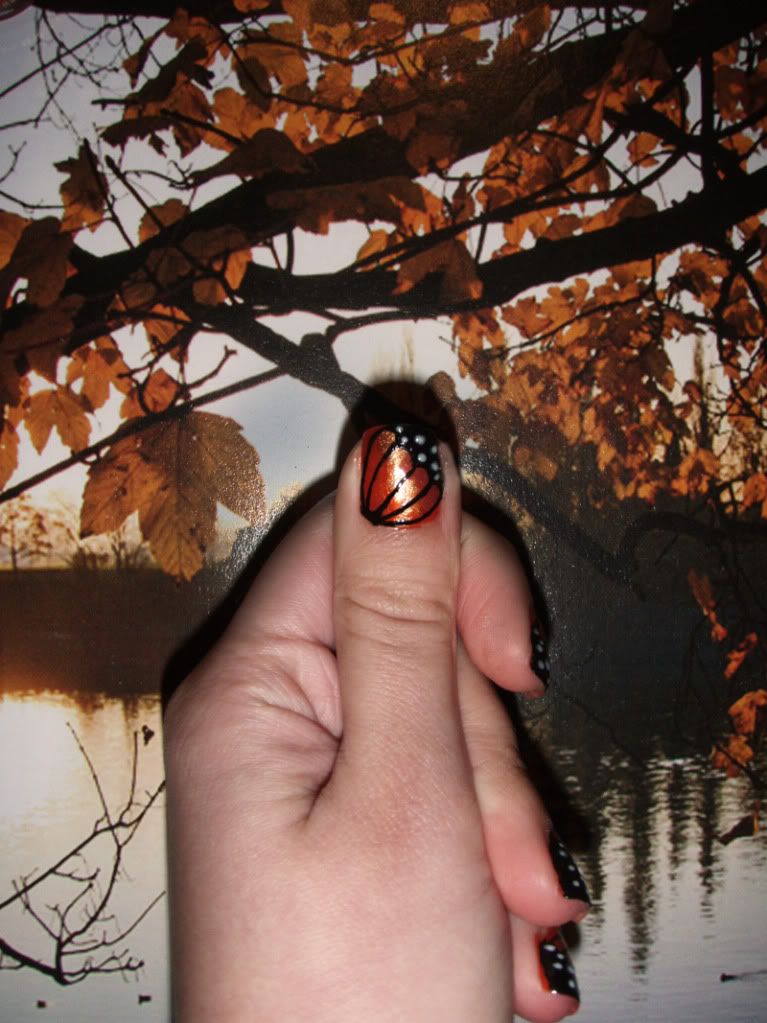
DIY: Butterfly Wing Nail Art

Photobucket

As promised: Butterfly wing nail art tutorial!  ^^
Maybe for Halloween...?

To make some things clear (after hearing it a lot today…): Yes, those are my own fingernails. Yes, I paint my nails all by myself. =D


Hope I’ve made these steps clear! If you have any questions, please ask!


What do you need to achieve this look?
* 2-3 shades of orange nail polish (or you could also try light and dark blue, yellow, red,…)
* Black nail polish
* White nail polish
* Toothpick or eyeliner pencil


How to do it?

Step 1
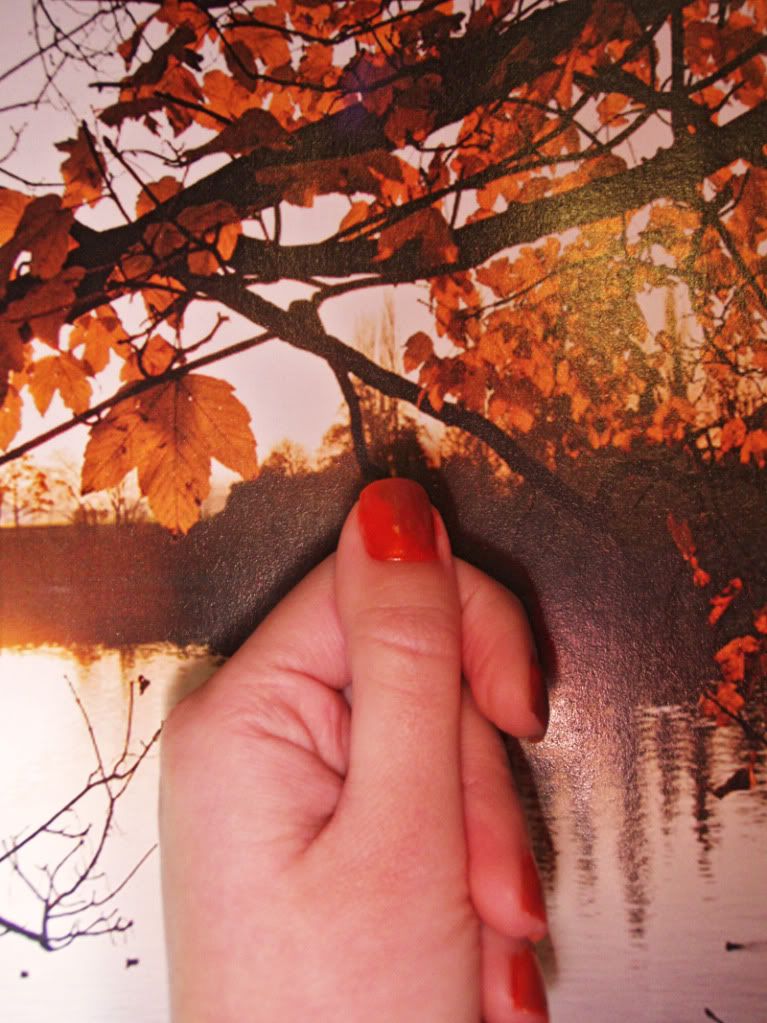
Firstly, you should give your nails at least 2 coats of orange. Use a darker shade of orange (or even two shades) to give it a more realistic wing effect.  You should try to let the 2 or 3 colors blend into each other.
Let it dry! This is very important! ;)
Photobucket

Step 2
Secondly, you take the black one. Paint a sort of triangular shape at the corner of your nails. Draw pointy ‘arches’ with the pencil starting from the triangle you painted.
This is the tricky part: You should connect the arches with an imaginary point at the other end of your nail.
(<- Is this sentence clear enough? =p)
Photobucket

Step 3
When the black nail polish is dry, start painting some white dots!
Photobucket

Step 4
Finish with shiny topcoat!


Aug 18, 2010

DIY: Fairy Flower Nail Art


Photobucket 

So I tried something new here!
I’ve used a tiny eyeliner brush to draw the design on my nails (instead of using a toothpick). I got it for free with some kind of fashion magazine... You know, those free things they offer, but that stuff is always crappy or ugly (or both) =D
So this time I had another beauty product that would probably end up in the bin… But then I wondered… ‘Could I use the little brush for nail polish,  or is it only for cheap eyeliner?’ The answer is yes, you can use it for both! So let’s recycle free beauty products!!! =D

Here we go:

What do you need to achieve this look?


* Soft, pastel nail polish (like: OPI, Done out in deco)
* All kinds of dark pink (like magenta, plume,…)
* Glittery things! A magenta glitter nail polish + A soft pink glitter nail polish
* Tiny brush (or toothpick)

How to do it?

Step 1

Firstly, you should give your nails at least 2 coats of the pastel color. Let it dry!

Photobucket
Step 2

Secondly, you take the lightest pink color and you dip the brush in the nail polish.
This color is the base for the flower, so you draw the petals. 

Photobucket
Step 3

Thirdly, we are trying to add some texture to our flower, so we’re gonna draw some stripes across each petal. Use all the darker pink tones you own, like magenta and plume. Also go over it with the glitter nail polish to make it more magical! ^^
You could also add a diamond as the center of the flower (I didn’t have any stones anymore, so I just used a lot of glitters =D)

Photobucket

Step 4

Now, the magic begins! =D
We are going to paint curls coming out of the flower, with a light pink glitter polish! ^^
You should leave your other nails simple, I only did a french manicure with the glitter polish!
Finish with a shiny topcoat!
(There isn’t any topcoat on my nails yet, because it takes some time for the curls to dry!!!)

Photobucket

Jun 8, 2010

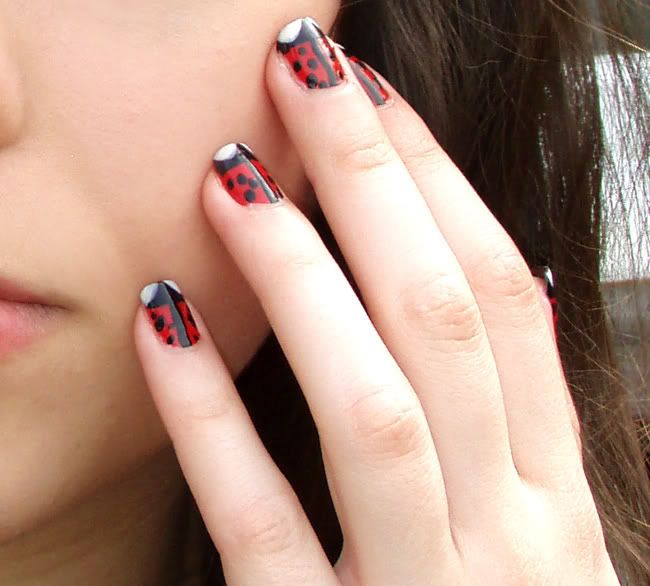
DIY: Ladybug nailart !


Photobucket

 Just like last time: 4 easy steps to get these cute ladybugs! ^^


What do you need to achieve this look?

* Red nail polish (bright red)
* Black nail polish
* White nail polish
* Topcoat
* Toothpick (if it's easier for you)


How to do it?

Step 1: Give your fingernails 2 coats of bright red nail polish.

 Photobucket

Step 2: When the red layer is dry, do a 'french manicure' in black. You now have a black tip! Draw a black line from the black tip towards your finger. Now you can give the ladybug her black dots! =D Make them big and small! (You could do this with a toothpick)

 Photobucket

Step 3: Only do this step when the black tip is completly dry!!! Paint 2 white eyes. This should be a 'half egg' shape. =D

Photobucket
 
Step 4: Finish with topcoat! ^^

Hope I’ve made everything clear! If you have any questions, please ask! =D


May 30, 2010

DIY: Leopard print nails!


Do you want leopard nailart just like the one on my nails?
Well, it ain't that hard!
Follow these 4 simple steps!


I’ve ‘painted’ my righthand to make clear that it’s possible to do this look with my lefthand (I’m righthanded)!


What do you need to achieve this look?
  • Gold nail polish
  • Very dark brown nail polish (you can also try black!)
  • A dark (brown) orange nail polish
  • Toothpick

Let's get started!


How to do it?

Step 1
Firstly, you should give your nails at least 2 coats of gold. Let it dry! This is very important! ;)

Photobucket


Step 2
Secondly, you take the dark brown color and you dip the toothpick in the nail polish. Be very careful!!! You should have a little brown tip on the toothpick. This brown tip is your pencil now ;) There are only two thing to write: the letter ‘c’ (make the letter ‘ugly’ =p) and dots. It’s that simple!

Photobucket


Step 3
Now, you can create the ultimate leopard look by drawing little orange dots in the brown c’s.

Photobucket


Step 4
Finish with a shiny topcoat!


Hope I’ve made everything clear! If you have any questions, please ask!
Ow and when you have tried this look, please link me to that photo! so that I can be proud of your result! =D


Related Posts Plugin for WordPress, Blogger...